How Do They Make A Wooden Wrist Watch?
Have you ever wondered how they make a wooden wrist watch? It's not as difficult as it might sound! Crafting a wooden watch involves many steps, including selecting the right wood, shaping it, adding finishes and treatments, assembling internal components, installing the movement, fitting the watch face, and attaching the wristband. With some skill and dedication anyone can create their own gorgeous wooden timepiece. You'll be amazed at how easy it is to make your own unique wooden watch!
Selecting the Right Wood
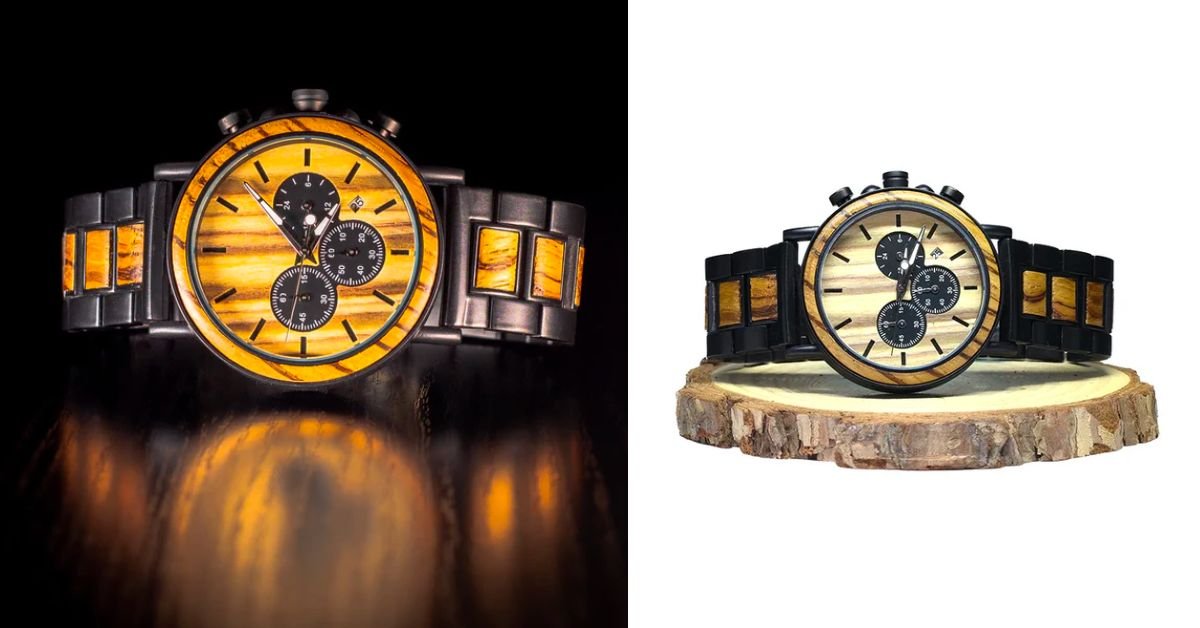
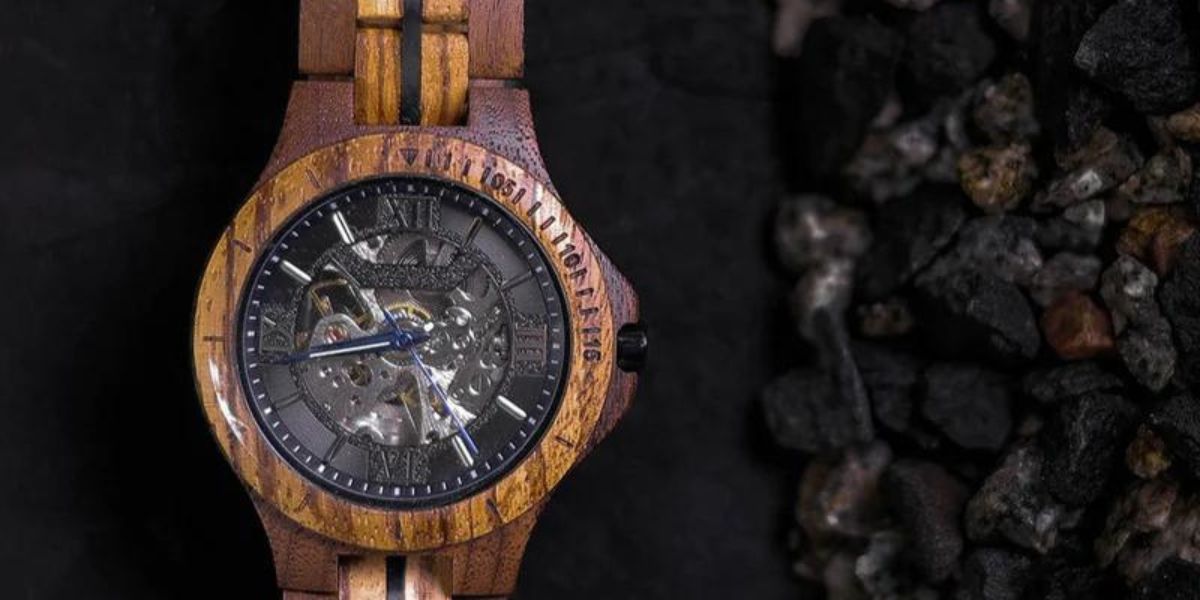
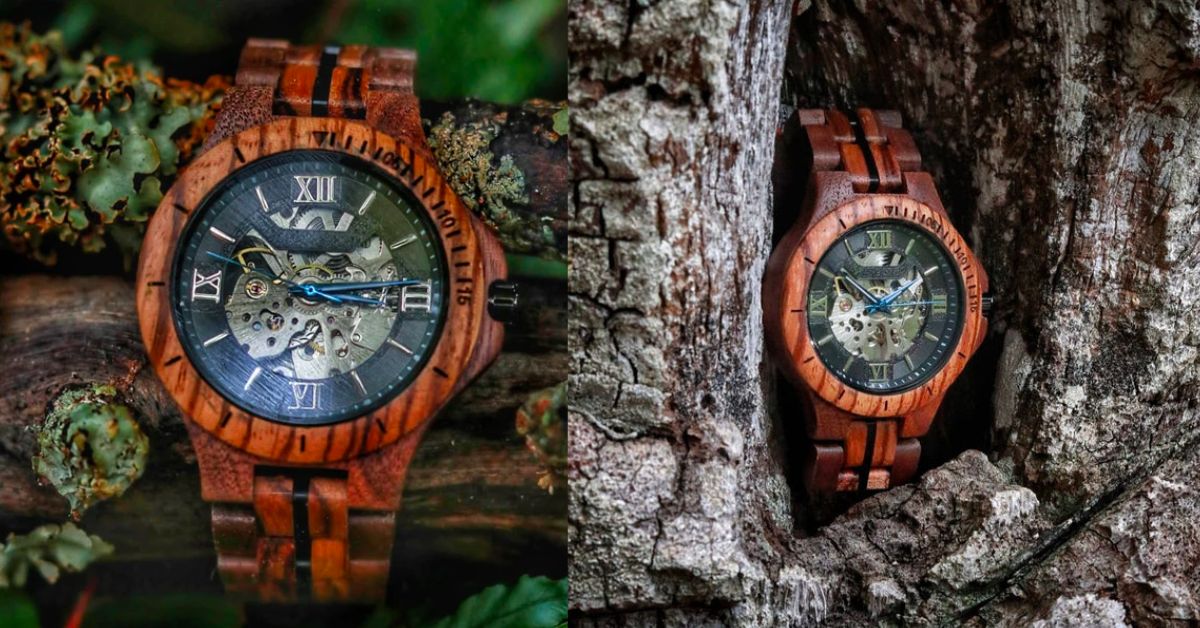
You need to pick the perfect wood for your timepiece - one that not only looks great, but will stand up to wear and tear. One of the most popular woods used in wooden watches is bamboo, due to its lightness and affordability. Bamboo is a hardwood, making it an ideal choice for those looking for strength as well as style. Another popular option is maple wood, which has a beautiful grain pattern and is also quite durable. Rosewood offers a unique look with rich colours that are sure to make any watch pop. Finally, ebony has an elegant black hue that makes it a popular choice for luxury watches.
No matter which type of wood you choose for your watch, you should consider how often you plan on wearing it before settling on the best option. If you want something that will last through years of daily use without showing signs of wear and tear too soon, then bamboo or maple may be the way to go. On the other hand, if you're looking for something more luxurious or designer-like then rosewood or ebony are probably better choices.
It's important to remember that no matter what kind of wood you select, proper maintenance is key in keeping your wooden watch looking good and running smoothly over time. Regularly inspecting your watch will help ensure that any potential problems are caught early so they can be addressed before causing damage to the internal mechanisms of the watch itself. Additionally, regular cleaning using natural oils such as jojoba oil can help keep your wooden watch looking like new while also protecting it from scratches and dents caused by everyday wear and tear over time.
When selecting a wooden wristwatch it pays off to take your time picking out just the right kind of wood – one that not only looks great but will stand up to long-term use as well! With enough care and attention paid to regular maintenance tasks such as inspection and cleaning, your wooden wristwatch should remain in top condition year after year!
Shaping the Wood
Crafting your own wooden wrist watch is a truly unique experience, one that immerses you in the art of shaping wood. With the right tools and patience, you can use woodworking techniques to create an heirloom-quality timepiece. After selecting your desired type of wood, you can begin to shape it into the form of a wrist watch.
The first step in this process is to cut out the body of your watch with a saw or other cutting tool. You will want to make sure that all sides are even and that it has been cut precisely according to measurements. If necessary, you can sand down any rough edges or surfaces with fine grit sandpaper until they are smooth.
Next, use carving tools like chisels and gouges to craft grooves on each piece of wood where parts such as buttons and straps will be attached later on. It is important at this stage not only for precision but also for aesthetics -- making sure that lines and curves are evenly spaced apart gives your wooden watch its signature look.
To make sure everything fits together properly when assembling the components, drill small holes into each piece where needed so that screws or nails can be used later on for secure fastening. Once all of these steps have been completed, it's time to assemble your finished product!
Adding Finishes and Treatments
Once all the pieces are cut and shaped, you can add the finishing touches to your unique timepiece with various finishes and treatments. Waxing or oiling is a great way to bring out the natural beauty of wood in your wrist watch. You can choose from beeswax, carnauba wax, walnut oil, tung oil, shellac and more! Applying these finishes will give your watch a unique look that will last for many years.
The addition of metal features such as hinges or clasps also adds to the overall appearance of your wooden wrist watch. By using brass or stainless steel accents you can give it a classic look that complements any style. If you're looking for something more modern than anodized aluminium may be just what you need to make your watch stand out.
If you decide to go with a lacquer finish for your watch then it's important to make sure that it's applied correctly. This involves sanding down each layer until it's smooth before applying another coat of lacquer. It takes some patience but the end result is worth it! And if you want an extra bit of protection against moisture then consider adding a few drops of waterproof sealer too.
No matter how you choose to finish and treat your wooden wrist watch, it will become an item that will be cherished for years to come! With proper care and maintenance, this one-of-a-kind timepiece could even be passed down through generations as an heirloom piece that celebrates craftsmanship at its finest.
Assembling the Internal Components
Now that you've added your desired finishes and treatments, it's time to assemble the internal components of your unique timepiece. Let's get started! First, you'll need to ensure all the necessary parts are accounted for. This includes the movement, dials, hands, and any additional components like a moon phase indicator or power reserve gauge. Then you'll have to carefully insert each component into its designated place in the watch case. You should take extra care when inserting these components as they're delicate and could be damaged if not done properly.
Once each component is in place it's important to make sure they fit securely so that nothing can move around freely inside the watch case. To do this you may need some specialised tools like tweezers or tweezers with diamond tips to help secure them in place even further. You also want to check that all of the pieces are aligned correctly before putting the back plate on for good.
After everything is in its rightful place and double-checked for accuracy it's finally time to seal up your wooden wrist watch for good! Make sure there are no gaps between where the back plate meets up with the case itself as this will cause dust and moisture over time which can damage both internal components and exterior finish of your beautiful creation. Once sealed up tight, your wooden wrist watch is ready for testing!
Testing a newly assembled wooden wrist watch involves checking not only its accuracy but also making sure all features such as chronograph functions or date window work without issue too. It's also important to inspect everything once again during this process so any potential issues are caught before taking it out into the world for others to admire!
Installing the Watch Movement
Installing the watch movement requires precision and care to ensure your timepiece functions properly. The first step is to carefully place the watch movement into the main body of the wristwatch, making sure it fits securely in place. Then, secure the movement with screws for a firm hold. Next, you need to attach the hands of the clock to their respective positions on the dial. This process can be a bit tricky as each hand must be perfectly aligned in order for your watch to function correctly. Lastly, you'll have to attach a battery or winding stem, depending on what type of movement you're using, so that your watch will keep accurate time. With all these components installed correctly and securely, you've now got a functional wooden wristwatch!
Fitting the Watch Face
Fastening the watch face securely with screws, you can picture your timepiece coming to life. This is one of the final steps in making a wooden wrist watch. You will need to thread a movement stem into the hole in the back of the watch face and then fit it to the casing. To ensure that all parts are secure, you must use small screws on either side of the watch face. Then you have to make sure that there is enough space between the case and dial so that when you wind up your timepiece, it will turn properly.
To install a watch crystal, you will need to measure and cut out an area in which it fits snugly. Once this is done, use tweezers or needle-nose pliers to place it over the dial and secure it with glue or epoxy resin. You may also want to consider adding decorative bezels around the edge of your crystal for added protection against damage from everyday wear and tear.
Next, attach your hands onto your watch by using an adhesive like super glue or epoxy resin along with a special tool known as a "hand press." It's important that each hand is positioned correctly relative to its corresponding hour markers on your dial for accurate readings; otherwise, your timepiece may read incorrectly throughout its lifetime!
The last step is attaching any additional features such as straps (e.g., leather bands) or buckles (e.g., pin-and-tang clasp). Make sure these pieces are fitted appropriately before completing assembly; otherwise they won't provide proper support while wearing your new wooden wristwatch! With everything secured tightly together, admire how beautiful your handmade creation looks!
Attaching the Wristband
Attaching the wristband to your timepiece is the finishing touch for a watch that not only tells time, but also tells a story. Wood watches come with either leather or wooden straps, and it's important to choose one that will fit comfortably on your wrist. A good fit isn't just about comfort - it's also about safety. Leather bands need to be cut and attached with special tools; however wood bands can be easily customised by sanding them down until they fit your wrist perfectly and then coating them with waterproof sealant. If you're using a metal clasp instead of a buckle, make sure it's securely fastened to the band as well as the watch itself. When you're done attaching the band, run through some basic checks: make sure all components are secure, that there are no loose pieces or gaps between parts, and that everything is tight enough so nothing moves when you move your arm. Taking these steps will ensure that your wooden watch stays in perfect condition for years to come.
It's also important to take proper care of your newly finished watch when wearing it out in public. Keep an eye out for water droplets or dust particles which could damage its appearance over time if left unchecked. Additionally, remember to remove any sweat buildup from around the clasp area since this can cause rust or discoloration of both material types if left unattended too long. Finally, you should always keep an eye on how much weight is placed on the band while wearing - too much pressure could cause breakage which would require costly repairs to fix! With proper maintenance and attention given, though, you'll keep your wooden watch looking great for many years down the road.
Quality Testing and Final Assembly
Once all components have been properly secured, it's time to quality test and complete the final assembly of your timepiece - ensuring a secure and reliable fit. Before being sent off for sale, each watch must be tested to ensure that it is precise and accurate. This process includes running the watch through a series of tests that measure its accuracy against calibrated standards as well as checking for any potential issues with the materials or construction.
The final step in assembling a wooden wristwatch is to attach the wristband. Depending on the type of band chosen, this may involve using screws or pins to attach the band securely to either side of the watch case. If you've opted for a leather band, then sewing may be necessary depending on how it was designed. It's important to make sure that all parts are properly fitted so that they don't come loose during wear, which could cause damage or discomfort.
After everything has been assembled, each piece will then need to be inspected by hand one last time before being given an official stamp of approval from the manufacturer. This ensures that only high-quality pieces make their way into customers' hands and onto their wrists! Finally, once approved, each watch can now start ticking away until it reaches its new home where its story will continue for many years to come.
Conclusion
You've now created your own wooden wrist watch! You started by selecting the right wood, then shaped and treated it to give it a unique look. After that, you installed the internal components, fitted the watch face and attached the wristband. Finally you tested its quality and finished off assembly. It's been quite a journey but you did it! Now all that's left is to show off your masterpiece to your friends and family. You can proudly tell them that each piece was crafted with love and care by none other than you!


